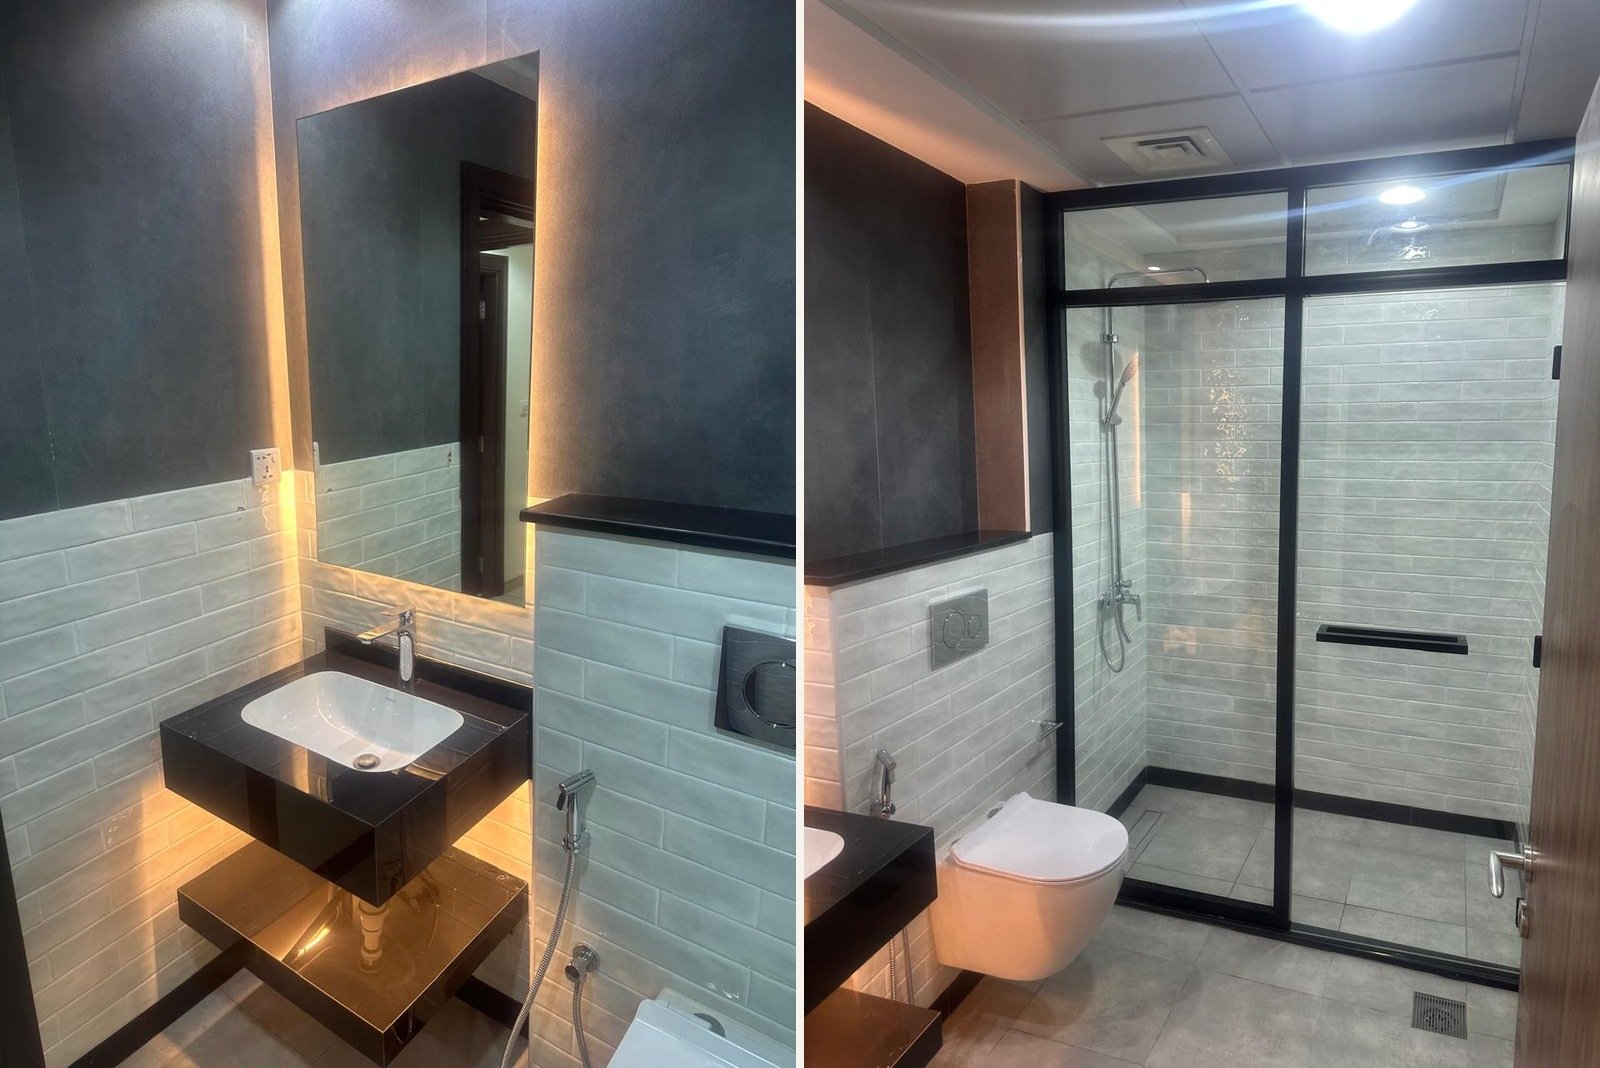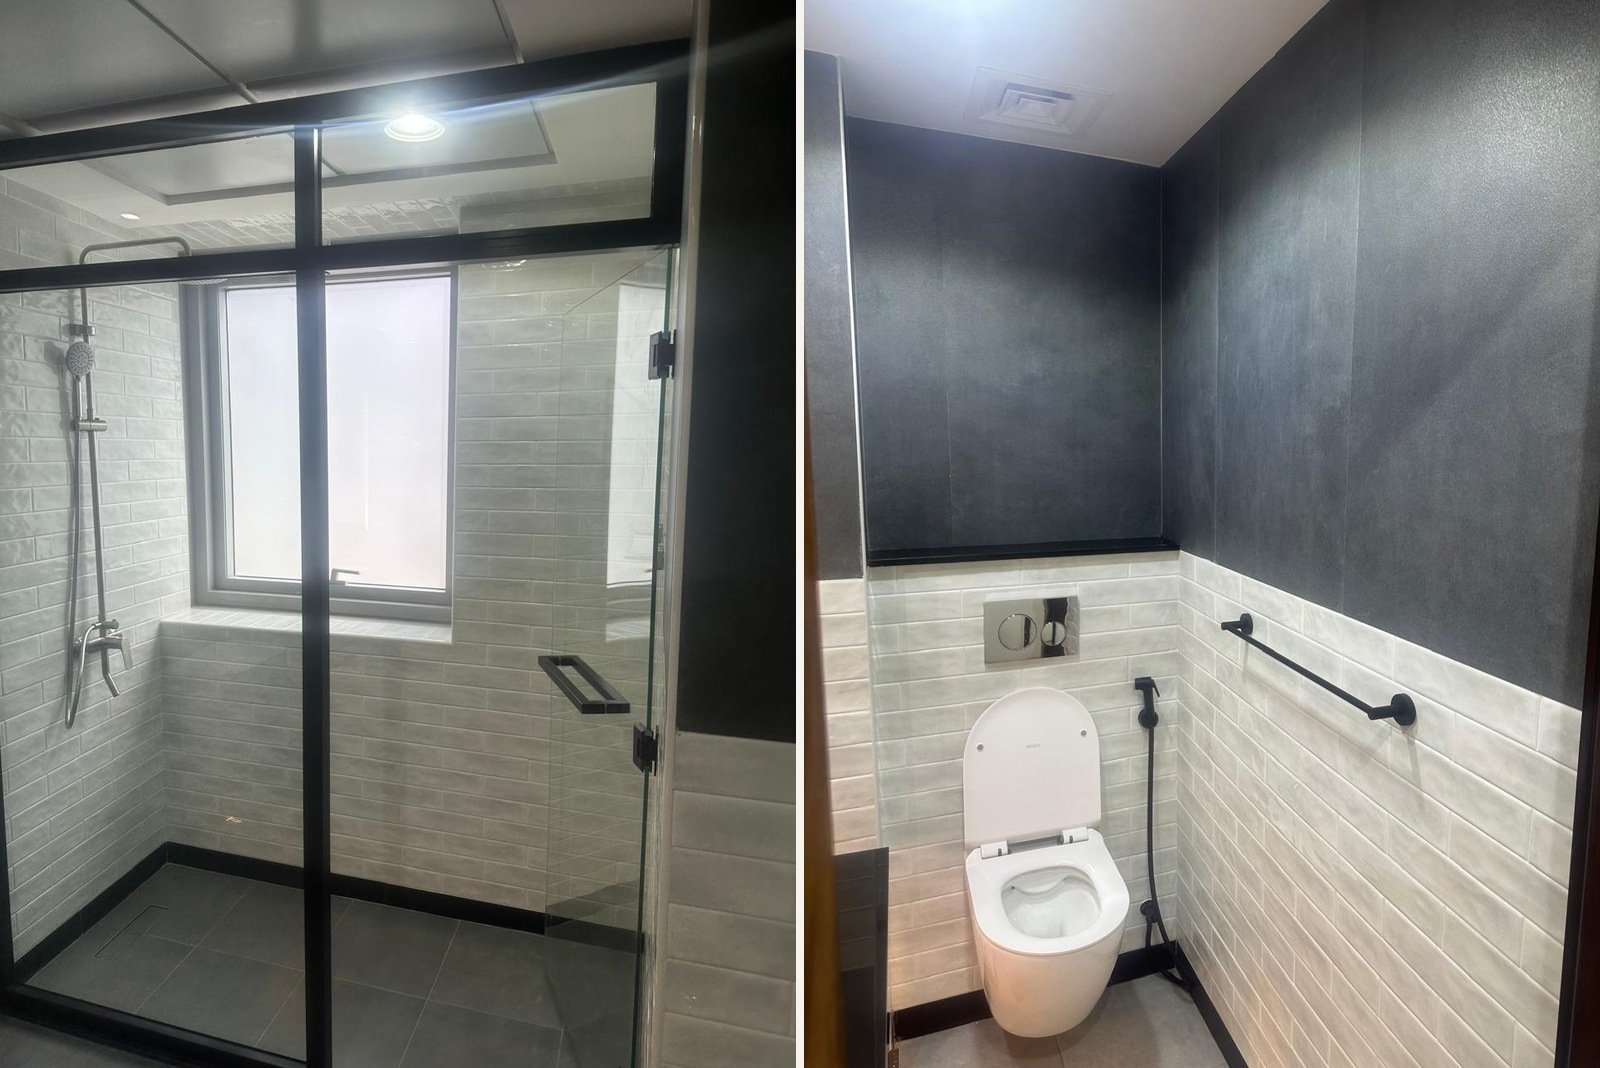
A bathroom renovation is a short project with a long memory. The work that decides whether it still looks and performs perfectly in ten years happens in the first week, behind the tiles, where nobody will see it again. Here is how a bathroom renovation should run in Dubai, from the paperwork to the final bead of silicone, and what to check at each stage.
The short answer
Get the building or developer NOC before anything is ordered or demolished. Strip back to the substrate, fix the drainage and falls, apply a proper waterproofing membrane and flood test it for 24 to 48 hours before tiling. Tile, fit out, then measure the glass last. For a standard bathroom that is typically two to three weeks on site and three to five weeks door to door.
Step 1: Approvals
Almost every Dubai building has rules about renovation work, and the first approval is local:
- Apartments: a no-objection certificate from the building’s facility management or owners’ association. Expect to submit a scope of work, the contractor’s trade licence and insurance, a programme and sometimes drawings, and to pay a fee and a refundable damage deposit.
- Villas: a no-objection certificate from the master developer for the community.
- Authority permits: where the work goes beyond replacing finishes, for example moving drainage, removing walls or altering electrical and water services, a permit may be needed from Dubai Municipality, or from the Dubai Development Authority in the freehold areas it covers. DEWA may also need to be involved where services change.
Approval can take anything from a few days to three weeks. Do not order non-refundable materials or start demolition until it is in hand, and tell your neighbours before the noisy days.
Step 2: Survey, design and ordering
A proper measured survey records where the soil stack, floor traps and water risers are, which walls are hollow and which are block, and how much height there is for the floor build-up. The design is then fixed around those constraints, and long-lead items such as imported sanitaryware, special tiles, stone and made-to-measure glass are ordered so they arrive before they are needed.
Step 3: Strip-out (days 1 to 2)
Everything comes out to the bare walls and slab, with corridors and lifts protected and debris removed according to the building’s rules. This is where surprises appear: old leaks, corroded pipes, soft screed. A good contractor photographs and reports them before covering anything up.
Step 4: Plumbing, electrics and screed (days 3 to 6)
- First-fix plumbing: supply pipes, concealed valves and the frame for a wall-hung WC, all pressure tested.
- Electrics and ventilation: circuits for lighting, mirror and shaver points, and an extract fan ducted to the outside or the building’s exhaust, not into the ceiling void.
- Screed to falls: the floor is laid so that water runs to the drain. In a walk-in shower the fall must be consistent, with no low spots where water can sit.
Step 5: Waterproofing and the flood test (days 6 to 9)
This is the most important stage of the whole job. A cementitious or liquid-applied membrane goes over the floor and up the walls, with reinforcing tape at every corner, junction and pipe penetration. In the shower the membrane should run well up the walls, ideally to the full height of the tiling. Outside the shower it should turn up the walls so the floor forms a sealed tray.
Then the floor is flooded and left for 24 to 48 hours, and the room below and the walls around are checked for any sign of moisture. Ask for a photograph of the flood test with a date on it. If anything leaks, it is fixed now, while it costs a few hours rather than a new bathroom.
Step 6: Tiling (days 9 to 14)
The tiler sets out the walls so that cuts fall in the least visible places, keeps grout lines continuous from floor to wall, and works to the falls in the screed. Large-format tiles need flatter walls and back-buttering. Trims, niches and the junctions around the window and door are agreed before the first tile is fixed, not improvised on site.
Step 7: Second fix and glass (days 14 to 18)
- WC, basin, mixers, shower set and flush plates are fitted and tested.
- The vanity, mirror, lighting and accessories go in.
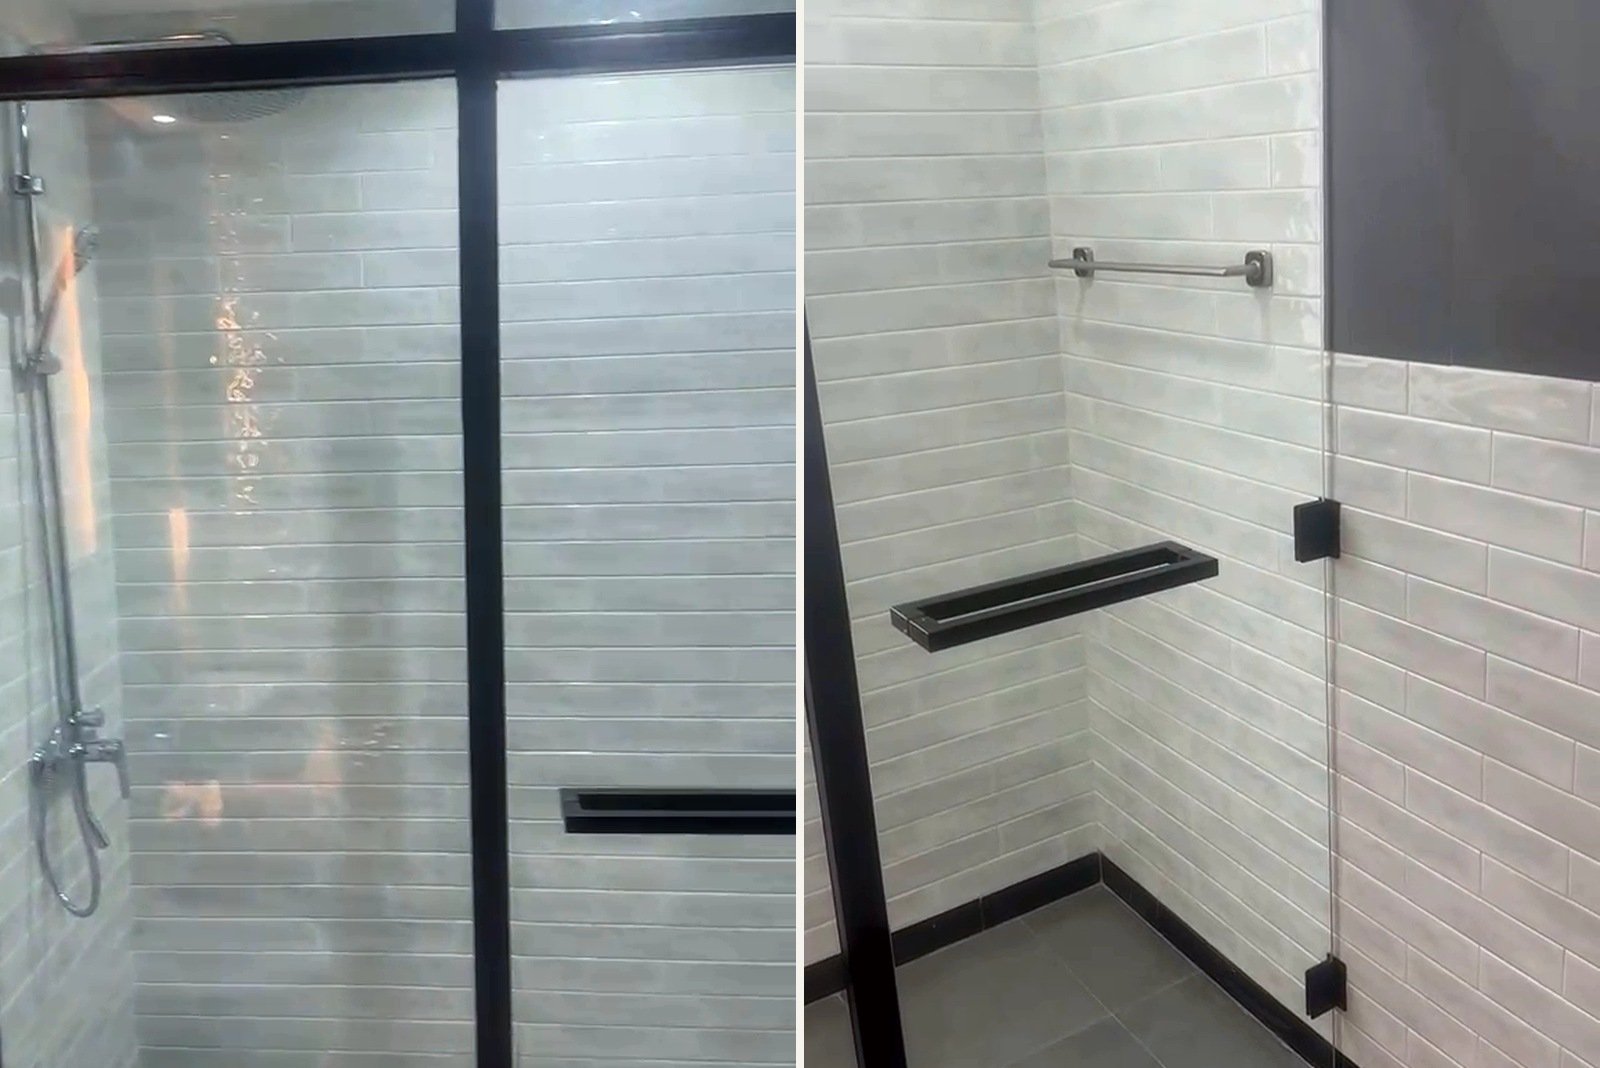
- The shower glass is measured after tiling, fabricated to the finished dimensions and installed, often a week after measuring.
- Silicone goes in last, and needs about 24 hours before the shower is used.
Step 8: Handover
Run every tap, flush every WC, fill the basin and the shower and watch the drains. Check the grout for gaps, the silicone for a continuous bead, and the glass for alignment and a smooth door swing. Ask for the warranties, the product list and the waterproofing details in writing, and arrange the building’s final inspection so the deposit can be released.
A realistic timeline
- Approvals and ordering: a few days to three weeks, running in parallel with design.
- On site, standard bathroom: about two to three weeks.
- On site, master ensuite with bespoke joinery or stone: about four to six weeks.
- Imported fittings or custom stone: add one to two weeks of lead time.
The bottom line
Approvals first, waterproofing tested, glass measured last, and nothing covered up without a photograph. Get those four things right and the rest is finishes. For budgets, read our bathroom renovation cost guide, and to see what a finished refit looks like, take a look inside one of our recent bathroom renovations.
Want us to handle the approvals and the build?
We survey, design, apply for the NOC, build and hand over, with the waterproofing and flood test documented at every stage.
Book a Site Visit